VPN – Virtual Private Network
13 Outubro 2019

- Verificar se a Autenticação Multifator (MFA) foi configurada. Se não, siga por favor as instruções para configurar a MFA na nossa página web: Autenticação Multifator (MFA).
- Aceder ao endereço https://vpn.iscte-iul.pt através de um navegador (Chrome, Firefox, Edge).

- Será redirecionado para https://login.iscte-iul.pt. Na janela de autenticação, inserir as credenciais da conta do Iscte e seguir os passos da autenticação Multifator.
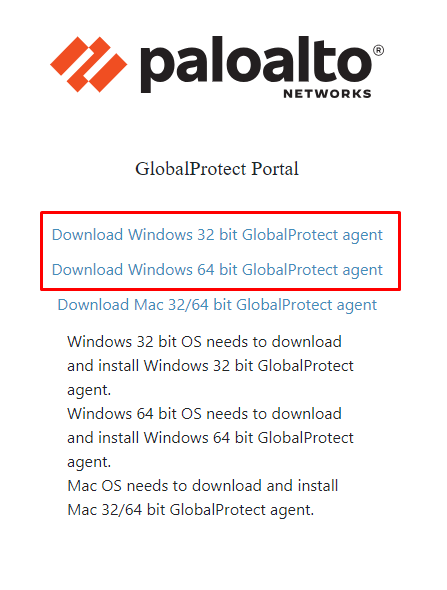
- Seguir a ligação referente à versão do Windows instalada no computador (32 ou 64 bit): “Download Windows 32 bits Global Protect Agent” ou “Download Windows 64 bits Global Protect Agent“.
- Aceder à pasta “Transferências“.

Método 1: Via opção do navegador (Ctrl + J).
Método 2: Via Windows Explorer (Win + E). - Abrir o ficheiro descarregado acima (“GlobalProtect.msi” ou “GlobalProtect64.msi“).

Método 1: Duplo clique sobre o nome do ficheiro.
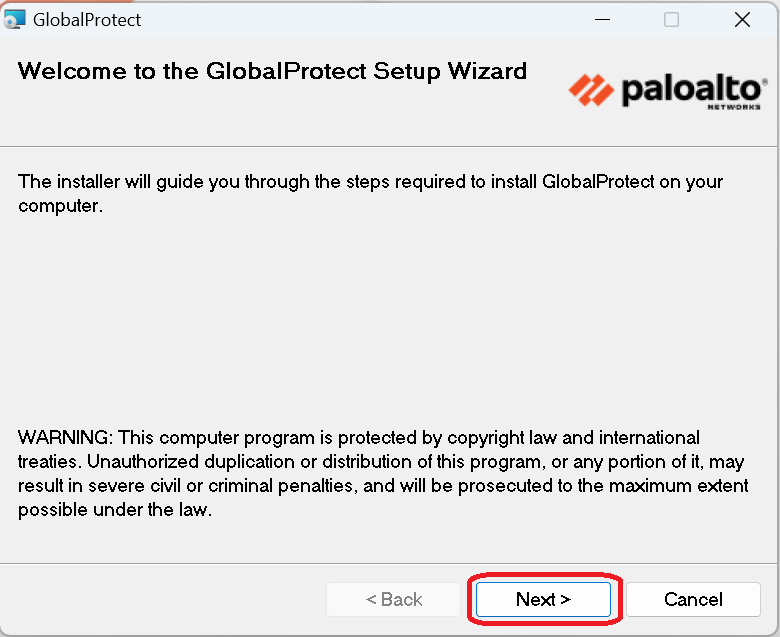
Método 2: Botão direito do rato sobre o nome do ficheiro e escolher a opção “Install“. - Na janela “Welcome to the Global Protect Setup Wizard”, clicar em “Next“.
- Na janela “Select Installation Folder“, clicar em “Next“.

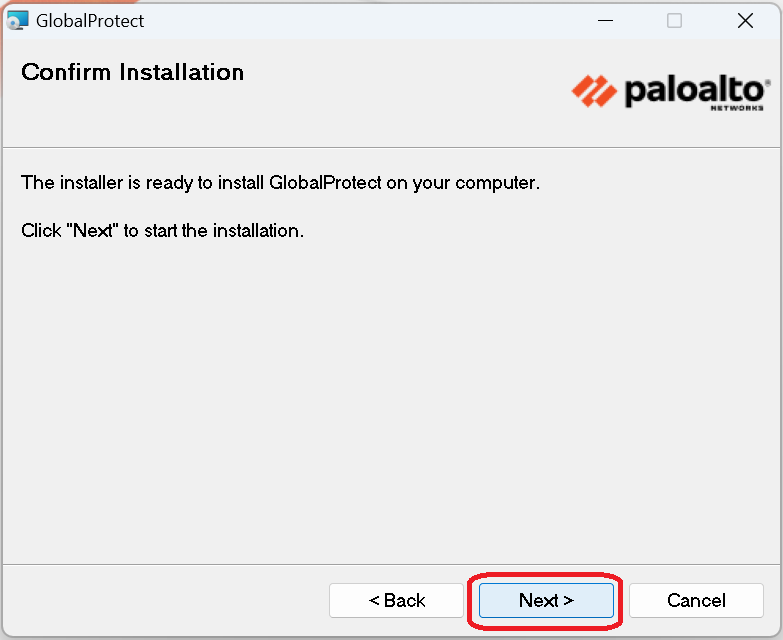
- Na janela “Confirm Installation“, clicar em “Next“.
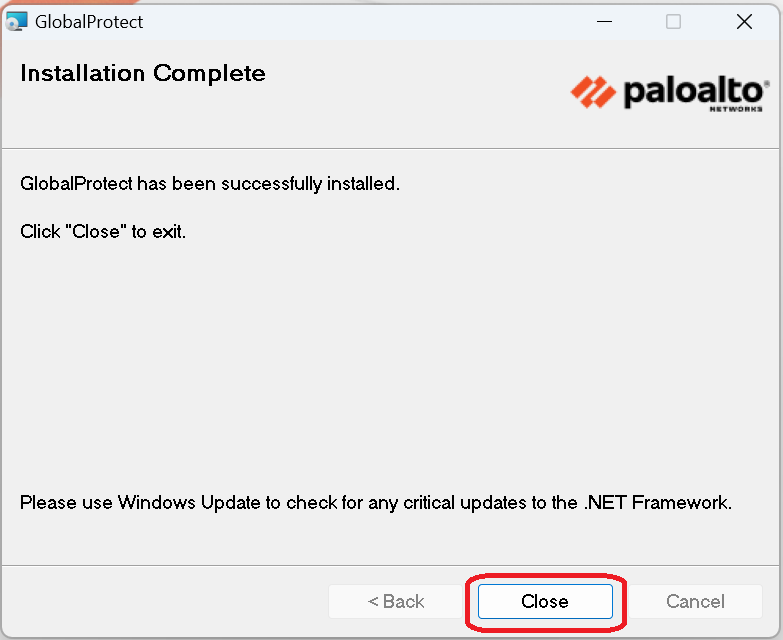
- Na janela “Installation Complete“, clicar em “Close“, para sair do instalador.
Nota: o cliente “GlobalProtect” arranca automaticamente após a instalação. - Na janela “Welcome!“, clicar em “Get Started”.

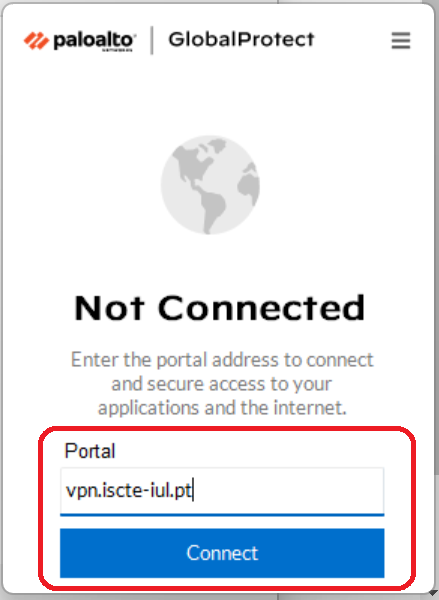
- No campo “Portal“, escrever “vpn.iscte-iul.pt” e clicar em “Connect“, para estabelecer a ligação.
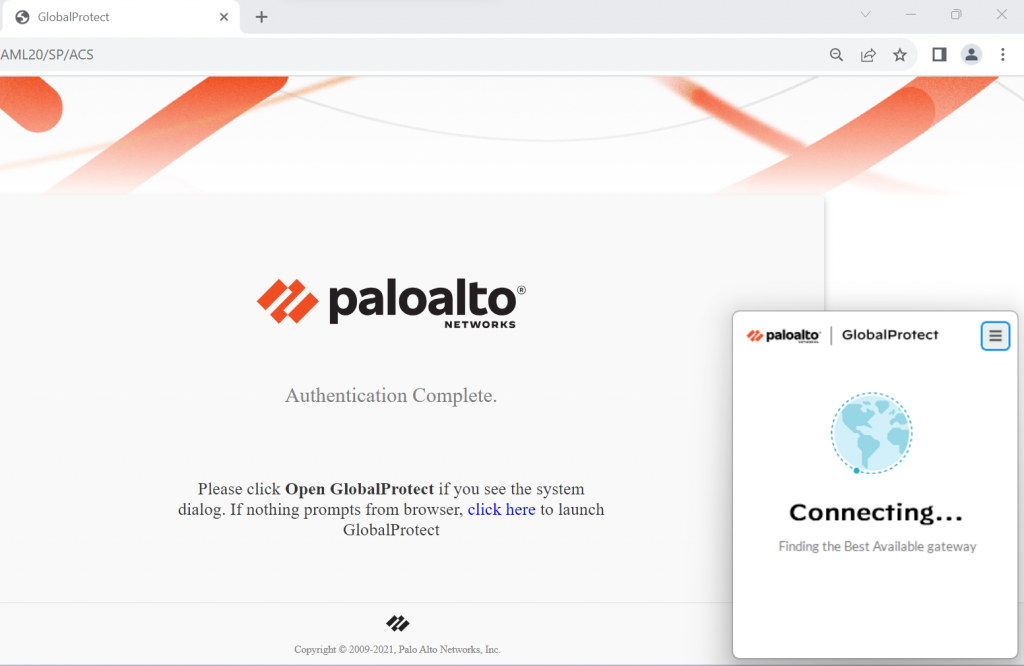
- Será aberta uma nova janela no navegador predefinido, na qual será solicitado a verificação da conta Iscte.
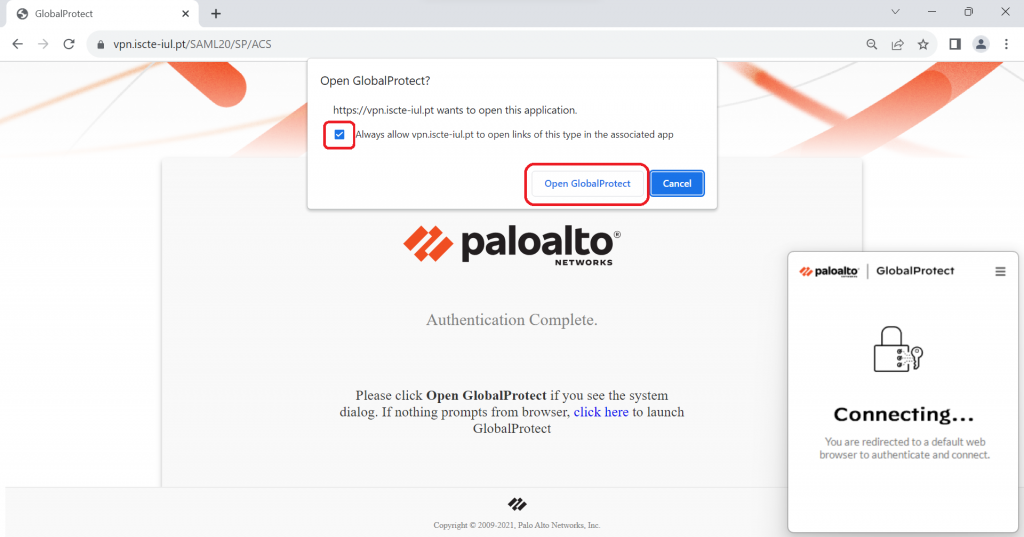
Atenção: Vai aparecer uma janela pop-up, é necessário clicar na caixa assinalada na imagem abaixo e depois clicar em “Open GlobalProtect“.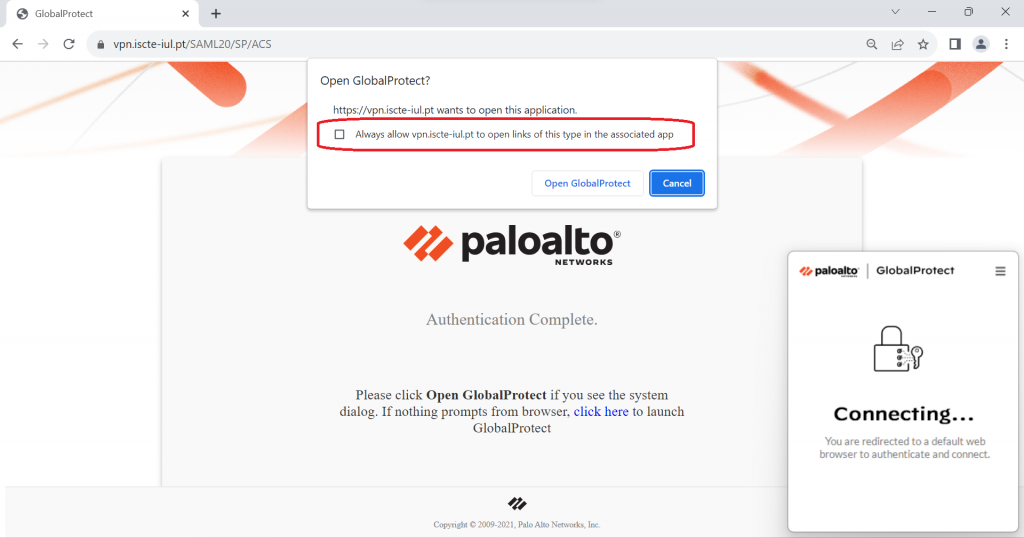
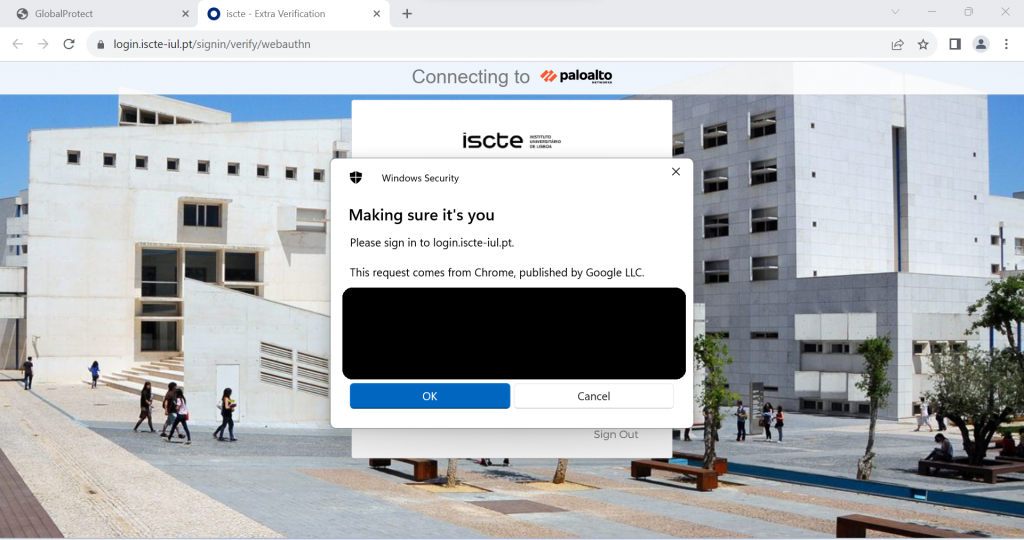
Depois disso, deverá autenticar-se através da autenticação Multifator configurada, seguindo as instruções para concluir a autenticação.
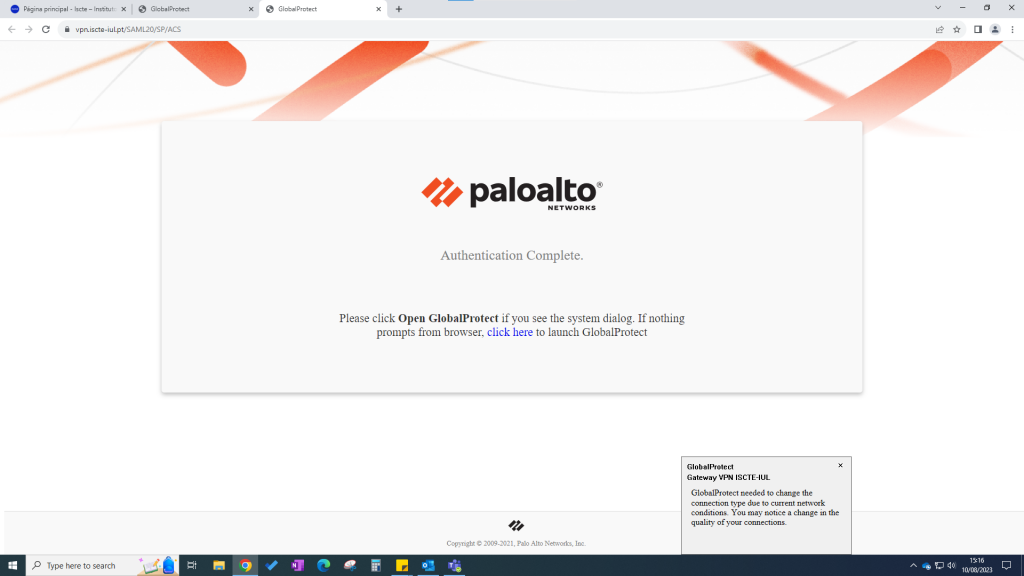
- Após a finalização da autenticação, uma nova janela da GlobalProtect será exibida no navegador.
- Se não aparecer a mensagem de pop-up na janela do navegador, é recomendável carregar no “Click here” para ligar a VPN.
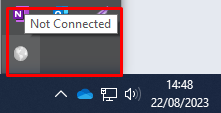
- Para confirmar que a ligação VPN foi estabelecida, clicar sobre o ícone do “GlobalProtect” na barra de tarefas, cujo estado deve indicar “Connected“.
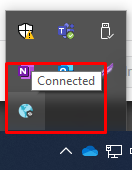
Nota: Se o ícone do “GlobalProtect” não estiver visível, procurar em “ícones escondidos” (^).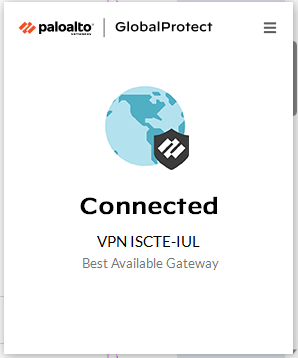
- Verificar se a Autenticação Multifator (MFA) foi configurada. Se não, siga por favor as instruções para configurar a MFA na nossa página web: Autenticação Multifator (MFA).
- Escolher um navegador (Safari, Opera, Chrome, Firefox) e aceder ao endereço https://vpn.iscte-iul.pt.

Navegador usado neste exemplo: Safari. - Será redirecionado para https://login.iscte-iul.pt. Na janela de autenticação, inserir as credenciais da conta do Iscte e seguir os passos da autenticação Multifator.
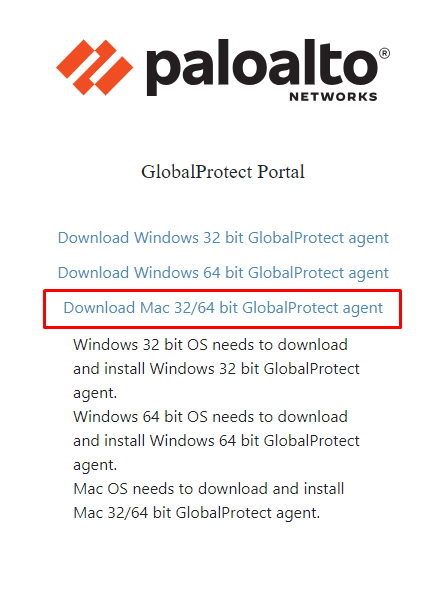
- Seguir a ligação “Download MAC 32/64 bits Global Protect Agent“.
- Descarregar o ficheiro “GlobalProtect.pkg“.
- Abrir o ficheiro descarregado acima: “GlobalProtect.pkg“.

- Se surgir a mensagem “System Extension Blocked“, clicar em “Open Security Preferences“.

- Na janela “Security & Privacy“, em “General“, clicar em “Allow“, para desbloquear a Palo Alto Networks. De seguida, em “OK“.

- Na janela “Welcome to the GlobalProtect Installer” (Introduction), clicar em “Continue“.

- Na janela “Select a Destination” (Destination Select), clicar em “Continue“.

- Na janela “Custom Install on…” (Installation Type), selecionar o pacote “GlobalProtect” e clicar em “Continue“.

- Na janela “Standard Install on …“, (Installation Type), clicar em “Install“.

- Na janela “Installer is trying to install new software“, introduzir as credenciais de utilizador do MAC com privilégios de administração e clicar em “Install Software“.

Nota: Inicia-se a instalação propriamente dita do cliente “GlobalProtect” para MAC OSX. - Na janela “The installation was completed successfuly” (Summary), clicar em “Close“, para sair do instalador.

Nota: Se após clicar em “Install” (no passo 11), não surgiu a janela “Installer is trying to install new software” (passo 12), isto é, se não se definiu o cliente “GlobalProtect” como um programa confiável, é necessário executar alguns passos adicionais: - Aceder às “Preferência do Sistema” (“System Preferences“), escolher “Segurança & Privacidade” (“Security & Privacy“).

- Selecionar “Geral” (“General“) e clicar no “cadeado” localizado no canto inferior esquerdo da janela.

- Introduzir as credenciais de utilizador do MAC com privilégios de administração.
- Clicar em “Allow“, localizado junto à mensagem “System software from developer “Palo Alto Networks” was blocked from loading.“

Nota: o cliente “GlobalProtect” arranca automaticamente após a instalação. - Na janela “Welcome to Global Protect“, no campo “Please enter your portal address“, escrever “vpn.iscte-iul.pt” e clicar em “Connect“, para estabelecer a ligação.

- Será aberta uma nova janela no navegador predefinido, na qual será solicitado a verificação da conta Iscte.
Atenção: Vai aparecer uma janela pop-up, é necessário clicar na caixa assinalada na imagem abaixo e depois clicar em “Open GlobalProtect“.
Depois disso, deverá autenticar-se através da autenticação Multifator configurada, seguindo as instruções para concluir a autenticação. - Após a finalização da autenticação, uma nova janela da GlobalProtect será exibida no navegador.
- Se não aparecer a mensagem de pop-up na janela do navegador, é recomendável carregar no “Click here” para ligar a VPN (como aparece na imagem anterior).
- Para confirmar que a ligação VPN foi estabelecida, clicar sobre o ícone do “GlobalProtect” no canto superior direito do ecrã, cujo estado deve indicar “Connected“.

- Aceder à linha de comandos da consola ou terminal e executar os os comando:
sudo apt-get install vpnc-scripts network-manager-vpnc-gnome network-manager-vpnc vpnc
sudo vpnc-connect
Nota: os restantes dados serão solicitados de forma interativa. Ver imediatamente abaixo como automatizar o processo de ligar a vpnc via consola. - Aceder à linha de comandos da consola e criar um ficheiro com os dados da ligação ao Iscte, executando:
sudo cat > /etc/vpnc/nome-de-utilizador-da-conta-do-Iscte.conf << EOF
IPSec gateway vpn.iscte-iul.pt
IPSec ID mobile
IPSec secret PreSharedKeydoIPSEC
IKE Authmode psk
Xauth username nome-de-utilizador-da-conta-do-Iscte
Xauth password palavra-passe-da-conta-do-Iscte
EOF - Executar o comando para ligar a vpnc:
sudo vpnc nome-de-utilizador-da-conta-do-Iscte
ou
sudo vpnc-connect /etc/vpnc/nome-de-utilizador-da-conta-do-Iscte.conf
No ambiente GUI
- Clicar com o botão direito do rato sobre o ícone do “network-manager” e escolher a opção “Edit Connections”.

- Clicar no botão “+” localizado no canto inferior esquerdo da janela.

- Na janela “VPN’s“, escolher “VPN compatível com Cisco (vpnc)“.

- Na janela “Selecione um tipo de ligação“, escolher “VPN compatível com Cisco (vpnc)” e clicar em “Create…”.

- Preencher os dados referentes à ligação por VPN ao Iscte e clicar em “Gravar”.

Gateway: vpn.iscte iul.pt
Utilizador: nome-de-utilizador-do-iscte (p. ex., xxnes)
Senha do utilizador: palavra-passe-da-conta-do-Iscte
Nome do grupo: mobile
Senha de grupo: M0b3#7iL@2k20! - Fechar a janela “Ligações de rede” usando a cruz (x) no canto superior direito.

- Clicar no ícone do “Network-Manager” e marcar a checkbox relativa à “VPN ISCTE”.

Não disponível
- Para ligar a VPN, aceder ao cliente “GlobalProtect” e clicar em “Connect” para estabelecer a ligação.
O ícone está localizado na barra de tarefas. Se não estiver visível, procurar em “ícones escondidos” (^).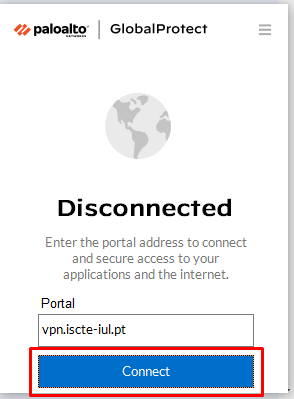
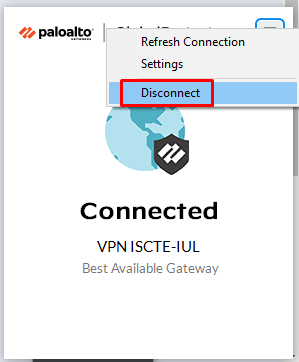
- Para desligar a VPN, aceder ao cliente “GlobalProtect“.

O ícone está localizado na barra de tarefas. Se não estiver visível, procurar em “ícones escondidos” (^). De seguida, clicar no canto superior direito da janela, para aceder ao “Menu” do cliente “GlobalProtect” e escolher a opção “Disconnect“.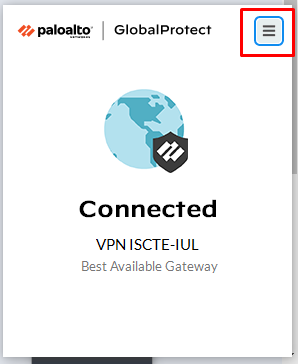
- Para ligar a VPN, aceder ao cliente “GlobalProtect” e clicar em “Enable” para estabelecer a ligação.

O ícone está localizado na margem superior do ecrã.
- Para desligar a VPN, aceder ao cliente “GlobalProtect” e clicar em “Disconnect” para terminar a ligação.

Caso este botão não esteja disponível, clicar no símbolo da “Engrenagem” localizado no canto superior da janela do “GlobalProtect” e escolher a opção “Disable“.
- Para ligar a VPN, na linha de comandos da consola, executar o comando:
sudo vpnc-connect
Nota: os restantes dados serão solicitados de forma interativa. Ver imediatamente abaixo como automatizar o processo de ligar a vpnc via consola. - Para ligar a VPN, na linha de comandos da consola, usando um ficheiro de configuração, executar um dos comandos:
sudo vpnc nome-de-utilizador-da-conta-do-Iscte
ou
sudo vpnc-connect /etc/vpnc/nome-de-utilizador-da-conta-do-Iscte.conf - Para ligar a VPN, em ambiente GUI, clicar no ícone do “Network-Manager” e marcar a checkbox relativa à “VPN ISCTE”.
- Para desligar a VPN, na linha de comandos da consola, executar o comando:
sudo vpnc-disconnect - Para desligar a VPN, em ambiente GUI, clicar no ícone do “Network-Manager” e desmarcar a checkbox relativa à “VPN ISCTE”.

Não disponível